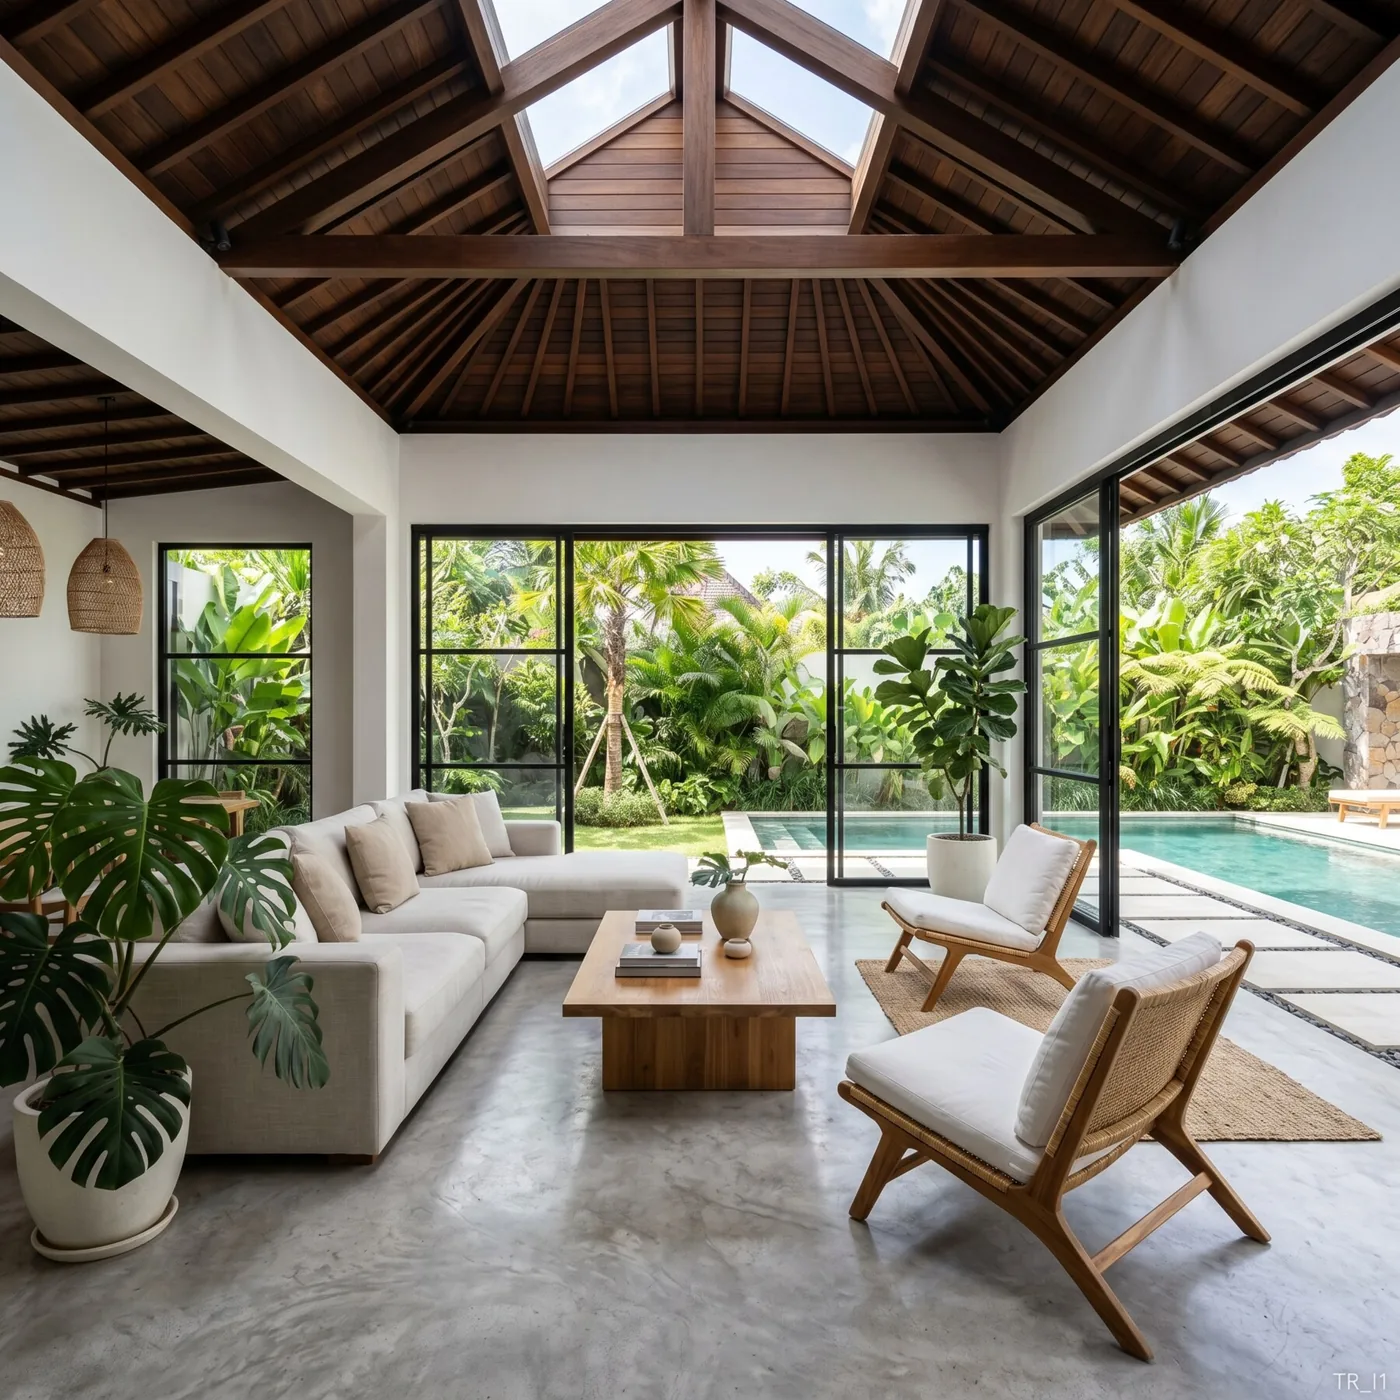
Interior design has a presentation problem: the ideas live in your head, the client needs to see them, and mood boards only go so far. AI interior rendering closes that gap. Upload a photo of the real room — or a bare 3D shell — and get a photorealistic, fully-styled interior in about a minute. The catch, and the craft, is doing it without the AI rearranging walls you never touched.
This guide covers the practical workflow: what to upload, how to keep the layout, how to restyle convincingly, and where AI fits into a professional design process.
What AI interior rendering is good at
Used well, AI is excellent at four interior tasks:
- Furnishing an empty room — turning a bare shell or a photo of an empty space into a furnished, lived-in interior.
- Restyling an existing room — keeping the layout but changing the style, materials, palette, and lighting.
- Exploring options fast — three palettes, two lighting moods, a different furniture language, all in minutes.
- Selling the concept — giving clients a photoreal image they can react to instead of a Pinterest collage.
What it is not for is producing millimeter-accurate construction documentation. Think of AI as the concept and presentation engine, not the working drawing.
The golden rule: preserve the layout
The single most important thing to understand about interior AI rendering is layout preservation. When you upload a room, the AI will, by default, keep the room's geometry — the position of windows, doors, and walls — and restyle within it. That is what you want.
Problems appear when the prompt implies structural change. If you write "open, airy, spacious" the model may decide to remove a wall to deliver "spacious." So the rule is:
If you want the layout kept exactly, don't imply structural changes. If you do want a wall removed or rooms merged, say so explicitly.
Being deliberate about this one thing separates clean, usable renders from frustrating ones.
Step-by-step interior workflow
1. Choose and prepare the input
Two common inputs:
- A photo of the real room. Shoot it straight-on or from a natural corner, in even light, with the whole space visible. Clear clutter that you don't want interpreted as fixed.
- A bare 3D shell (from SketchUp, Revit, or similar). Export a clean image and flag it as a 3D model so the AI reads it as geometry, not a finished photo.
2. Describe the style precisely
Interiors live or die on specifics. Weak: "modern and cozy." Strong:
"Scandinavian style, light oak floors and white walls, soft grey linen sofa, muted pastel accents, warm evening light, a few indoor plants, calm and uncluttered."
Name the style, key materials, palette, lighting, and mood. The more concrete, the more the render feels designed rather than generated.
3. Control what changes
- To keep existing colors or finishes, say so: "keep the existing floor, restyle everything else."
- To change a material, be explicit: "replace the red brick accent wall with white micro-cement."
- To preserve layout, avoid words that imply demolition; to change layout, state it directly.
4. Generate, then refine
Get your first image, then adjust in one instruction — "warmer lighting," "swap the coffee table for a round one," "add a rug." Refinement keeps the camera and overall look while changing only what you name, so you converge on the client's taste quickly.
Prompt recipes for common briefs
Warm minimalist living room
"Warm minimalist living room, oak and off-white palette, low linen sofa, travertine coffee table, large soft-diffused window light, one sculptural floor lamp, uncluttered."
Boutique hotel bedroom
"Boutique hotel bedroom, dark walnut and brass, deep green upholstered headboard, layered warm lighting, heavy linen curtains, moody and premium."
Tropical villa interior
"Tropical villa living space, teak and rattan, white plaster walls, indoor-outdoor flow to a pool terrace, bright natural daylight, lush plants, relaxed and airy."
Fitting AI into a professional process
AI doesn't replace design judgment — it accelerates the parts that used to be slow.
Concept stage. Generate several directions fast, present two or three to the client, and let their reactions guide the real design. You've replaced days of mood-boarding with an afternoon.
Development stage. Once a direction is chosen, use renders to test material and lighting variations before you commit to sourcing.
Presentation stage. A photoreal image wins approvals that flat elevations and sample flat-lays don't. Clients buy what they can see.
Where it stops. Specification, dimensions, procurement, and construction detailing remain your professional work. AI is the front half of the process, not the whole thing.
Common interior rendering mistakes
- Implying structural change by accident. The classic "spacious" that removes a wall. Be precise.
- Under-describing style. Generic prompts give generic rooms. Name materials and palette.
- Uploading a cluttered, badly-lit photo. The AI interprets what it sees; give it a clean, well-lit input.
- Regenerating instead of refining. If the base is 90% there, fix the last 10% in a sentence.
- Expecting construction accuracy. Use AI for concept and presentation, not working drawings.
Why this matters for your business
The designers winning work in 2026 aren't necessarily the most talented — they're the ones who can show a client a convincing vision in the first meeting. AI interior rendering compresses the distance between idea and image to about a minute, which means faster approvals, fewer revision rounds, and more projects closed.
Start with one real room and one precise prompt. Keep the layout, restyle with intent, refine in a sentence. Then bring it into your process.
If you also work on exteriors, our SketchUp-to-render guide covers the same principles for buildings, and our tools comparison helps you pick the right platform.