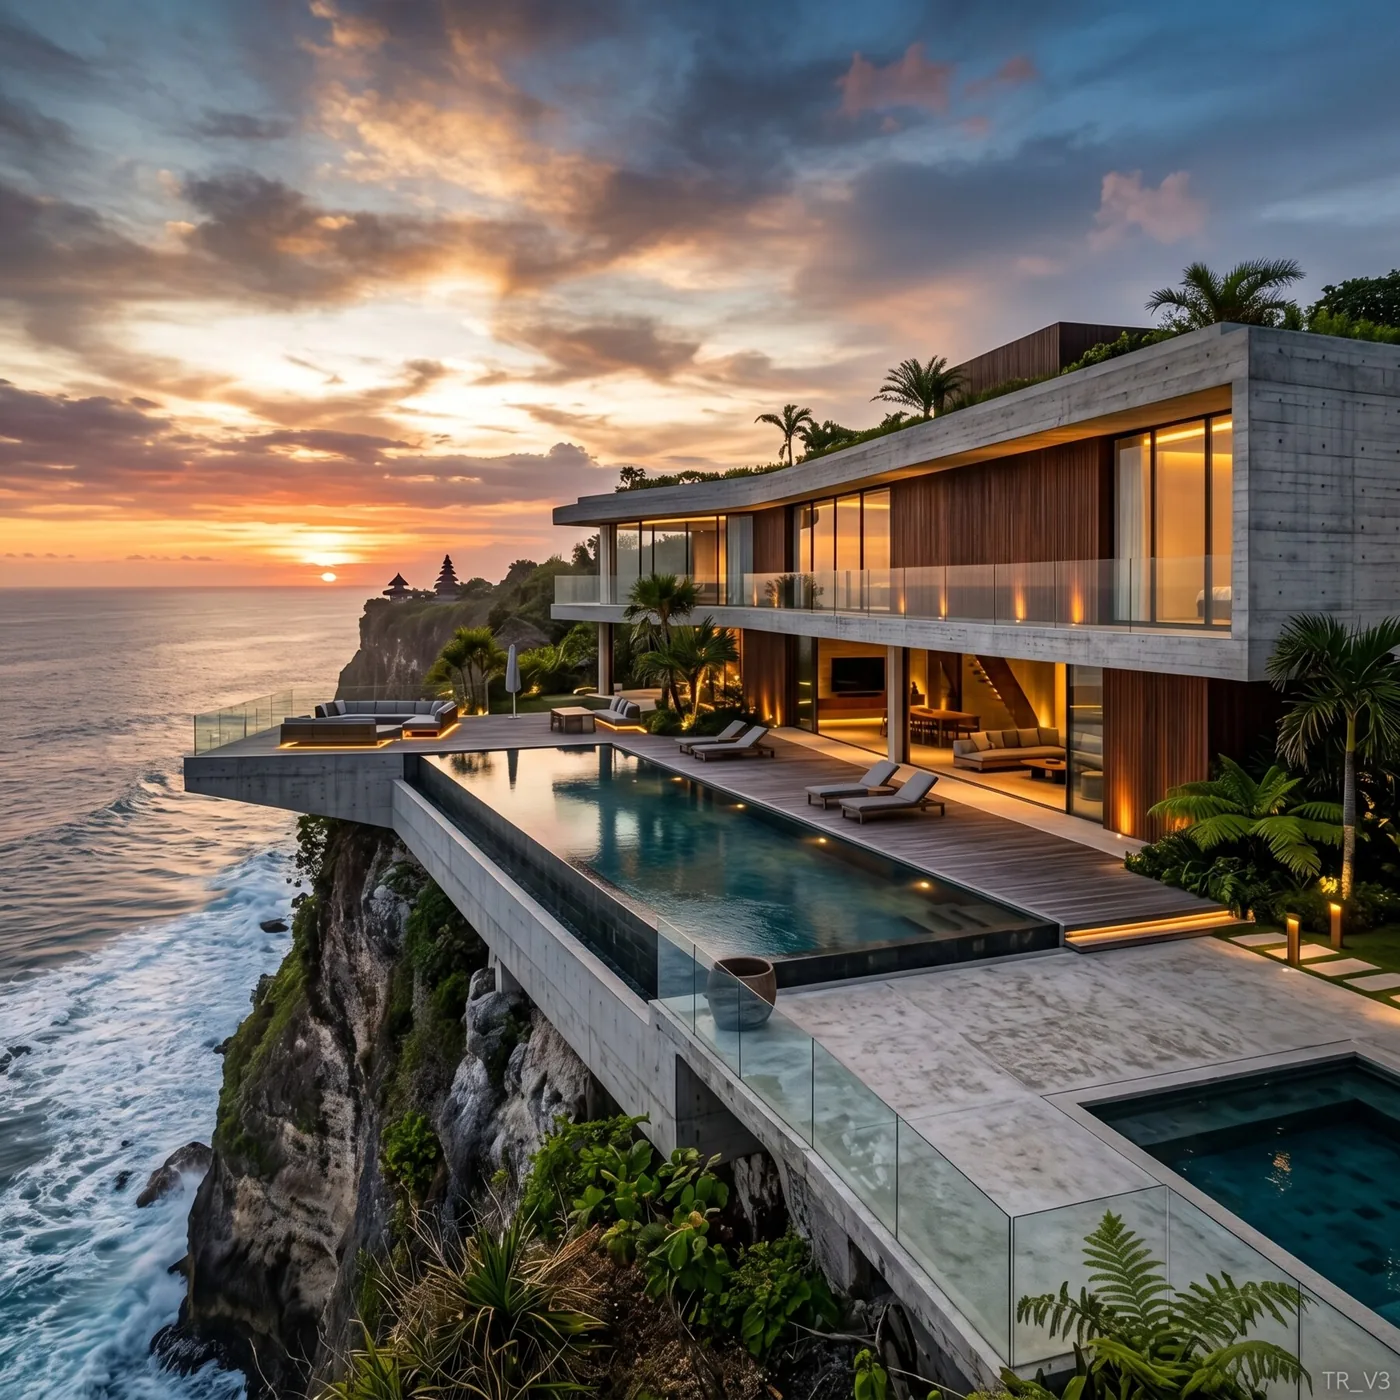
Tropico Render was built from Bali, for the kind of tropical and resort projects we see every day here. So instead of an abstract tutorial, this is a walkthrough of how a villa project actually gets visualized end to end with AI — the inputs, the prompts, the refinements, and the mistakes worth avoiding. Names and specifics are generalized, but the workflow is exactly what architects and developers use on real cliffside and jungle villas.
The brief
A developer has a hillside plot on the Bukit peninsula. They have:
- A rough hand sketch of the villa concept.
- A two-story floor plan.
- A phone photo of the empty plot.
- A tight timeline: a pitch deck due in days, not weeks.
Traditionally this means hiring a visualization studio, waiting a week or more, and paying studio rates for each revision. The goal here was to produce a full set of convincing images — exteriors, context, and interiors — in an afternoon, and to be able to iterate live when the developer changed their mind.
Stage 1: Sketch to exterior
The concept sketch was a loose perspective — enough to read the massing, the stacked volumes, the big glazed living level, and the cantilever over the slope.
Input: the sketch, flagged as a drawing so the AI would treat it as geometry and not preserve the hand-drawn look.
Prompt:
"Modern tropical cliffside villa, board-formed concrete and dark teak, floor-to-ceiling glazing on the living level, cantilevered terrace, infinity pool, golden-hour light, ocean beyond, lush tropical planting, calm editorial mood."
The first render nailed the massing and the mood but placed the sun a little flat. A one-sentence refinement — "lower the sun, longer shadows, warmer light" — fixed it while keeping the camera and composition. Two minutes, a hero exterior done.
Stage 2: Floor plan to a grounded 3D view
Next, the developer wanted to show the entrance approach — the side a visitor actually sees arriving by road. For this we used the floor plan → 3D flow, which extrudes and interprets a 2D plan into a photorealistic exterior from a chosen side.
Input: the two-story plan, flagged as a drawing.
Prompt:
"Two-story tropical villa seen from the entrance approach, timber screen and stone base, warm afternoon light, stepping-stone path through planting, natural photographic perspective."
Because plan-to-3D holds footprint fidelity well, the entrance elevation matched the plan's proportions — important, because the developer's investor knew the scheme and would have noticed a wrong facade.
Stage 3: Placing the villa on the real plot
To make the pitch tangible, the developer wanted the villa shown on their actual land. The placement flow takes two photos — the empty plot and a reference of the villa — and composites a believable result.
Inputs: the phone photo of the empty hillside plot, plus the exterior render from Stage 1 as the villa reference.
Prompt:
"Place the villa naturally on the sloped plot, match the existing horizon and vegetation, add a stone retaining wall and terraced landscaping, late-afternoon light consistent with the site photo."
This is the image that closes deals: an investor seeing the finished building sitting on the ground they're being asked to fund. It reads as a real site photograph, not a render pasted onto a background.
Stage 4: Interiors
Finally, the living level. The developer had no interior model yet — just intent. So we rendered the interior from a described concept, keeping it consistent with the exterior material palette.
Prompt:
"Tropical villa living space, teak and rattan, white plaster walls, low linen seating, indoor-outdoor flow to the pool terrace, bright natural daylight, lush plants, relaxed and airy."
One refinement lowered the contrast and warmed the light to match the golden-hour exteriors, so the whole deck felt like one project photographed on one afternoon rather than a collage of styles.
What the whole set cost — in time
| Stage | Traditional studio | AI workflow |
|---|---|---|
| Hero exterior | 2–4 days | ~3 minutes |
| Entrance 3D view | 1–2 days | ~2 minutes |
| Villa on plot | 1–2 days | ~2 minutes |
| Interior | 2–3 days | ~3 minutes |
| Revisions | Days, per round | Seconds, in a sentence |
An afternoon replaced roughly two weeks, and the developer could sit next to the screen and steer — "warmer, add a pergola, show it at dusk" — instead of emailing a studio and waiting.
Lessons from real villa projects
- Flag every CAD or sketch input as a drawing. On tropical projects with dramatic light, forgetting this is the top reason a render keeps a flat "3D look" instead of catching golden-hour drama.
- Keep one material palette across the set. Decide concrete-and-teak (or whatever it is) early and repeat it in every prompt so exteriors and interiors read as one building.
- Use placement for the closer. Investors respond to the building on their land far more than to a floating hero shot.
- Refine, don't restart. The developer changed their mind four times; each change was a sentence, not a new project.
- Match the light. Consistent time-of-day across images is what makes a deck feel professional.
Why tropical projects specifically benefit
Tropical and resort architecture is defined by things AI renders beautifully: strong directional sun, deep shadows, water, glass, timber, and lush planting. A cliffside villa at golden hour is exactly the kind of image that used to require an expensive studio and now takes minutes. That's not a gimmick — it's a real shift in how fast a Bali developer can go from a napkin sketch to a fundable pitch.
If you want to try the same workflow, start with our SketchUp-to-render guide for exteriors and the interior design guide for the living spaces. Developers building a portfolio should also read how real estate teams use AI rendering.